MESSY PLAY! Sensory Recipes to Teach Social Skills
 Diana Cortese
Sensory Play Recipes that Help Social Skills.
Sensory Play: 8 Easy DIY Recipes for Hands-On Fun & Social Learning
Sensory play is one of the most engaging and developmentally beneficial activities for kids! It encourages tactile exploration, fine motor skill development, creativity, and social interaction.
For kids who love to get messy and explore textures, these activities are a dream come true! For those who may be more trepidatious about new sensations, sensory play offers a gentle, low-pressure way to desensitize tactile sensitivities in a fun, safe environment.
The beautiful thing is that there are so many social skills that can be naturally taught.
The Social Benefits of Sensory Play
Beyond just being fun, sensory activities naturally encourage social skills, such as:
✔ Taking turns and sharing materials
✔ Planning and problem-solving as they follow a recipe
✔ Gaining each other’s attention and using communication to work together
✔ Experiencing joy and teamwork through collaborative play
To set up sensory play for group learning, divide kids into small groups and provide each group with a large mixing bowl so everyone gets a turn to pour, measure, mix, and explore. Encourage conversation with open-ended questions like:
What does it feel like?
What do you think will happen when we mix these ingredients?
What should we do next?
I usually like to give a print out of a written or visual recipe for them to follow as well. This is another way they can plan out and decide together who will do what in the recipe.

The kids will need to share the materials, plan out how to make the recipe, and they will need to gain each others' attention. More importantly they will share in the joy of creating something together!
Here’s a list of 8 super simple recipes the kids can make together and ideas for how play can be extended after making their creations.
1. Oobleck
Oobleck is a non-Newtonian fluid, meaning it acts like both a liquid and a solid. Kids will be fascinated as they roll it into a ball, then watch it melt through their fingers! stuff is so cool, even my middle schooler loved making it in science class! It has weird yet fascinating texture. Form it into a ball and watch and feel it melt in your hand. Trust me, you will not stop playing with it! Just mix a 2 :1 ratio of cornstarch to water and behold the magic.
- 2 cups Corn Starch
- 1 cup water
- Optional: Glitter
63cc14aca42fa_lg.png)
2. Slime
The biggest thing to watch out for when making slime is adding too much contact solution and having it become too hard. Mix all ingredients first and then add the contact solution in little by little.
- 1 bottle of Elmer’s Glue
- ½ tsp. Baking Soda
- Food Coloring
- 1.5 tbsp. Contact Solution
3. Puffy Slime
Same drill as regular slime but add 2-3 cups of shaving cream. This makes the texture more puffy and funnily enough, I have found that most kids have a strong preference for one or the other!
- 1 bottle of Elmer’s Glue
- ½ tsp. Baking Soda
- Food Coloring
- 1.5 tbsp. Contact Solution
- 2-3 cups Shaving Cream

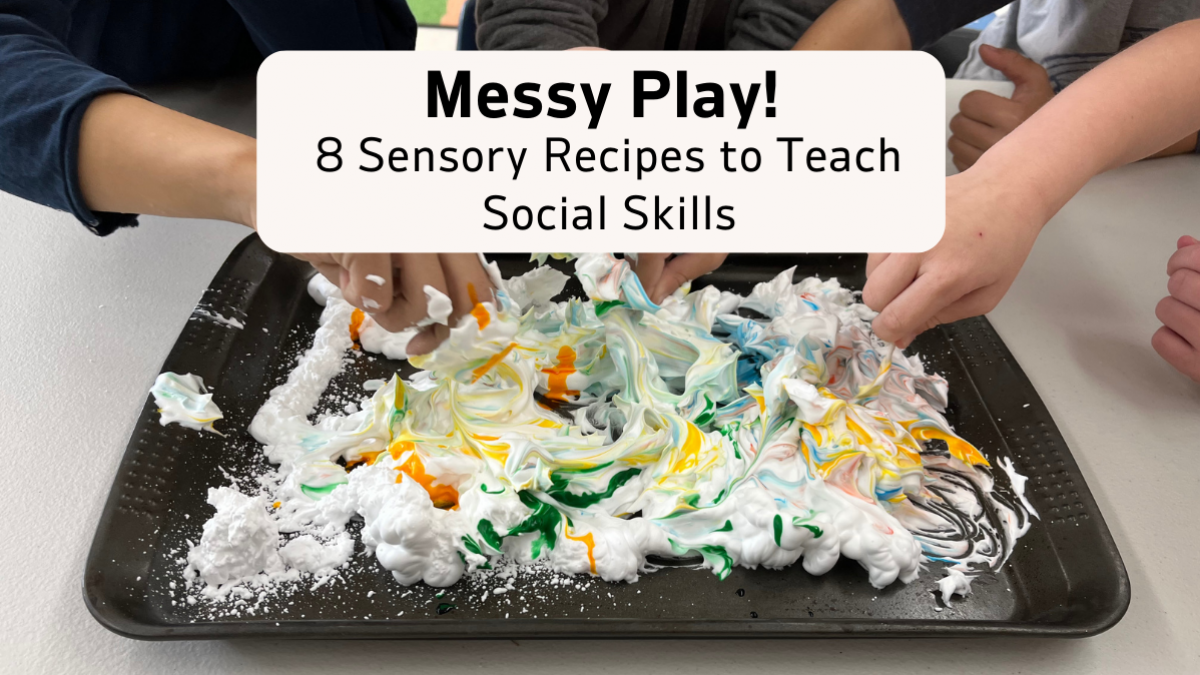
4. Shaving cream and Food Coloring
The most simplest of the activities but the most visually appealing. It’s so satisfying to see the colors blend in with the white shaving cream as you mix them together. You can choose to have this activity a bit more controlled by having the kids pump out the shaving cream on sheet pans or you can use a plastic table cloth and just pump it out over that and throw it away afterwards. I like the more controlled option as I find it focuses the kids more and makes them more aware of the color changes rather than just the slippery sensation of the shaving cream.
5. Salt dough
This dough we actually want to dry out. After it’s made, roll it out, shape it how you see fit and then dry it. Typically it’s recommended to dry out overnight. However, if you microwave it in 10-20 sec spurts, it will harden. To make, add 1 part salt to 2 parts flour and then pour in water little by little until you reach a dough consistency. The center may still be a little soft but it will be hard enough for the kids to carry home and it can dry overnight.
6. Kinetic Sand
Mix the sand and corn starch together first, the dish soap and water together and then add them together. It comes out pretty darn close to the store bought kind!
- 1 cup of Sand
- ½ tbsp Corn Starch
- 1 tbsp Dish Soap
- 1 cup of Water

7. Sand Foam
Pour sand in a bowl and add shaving cream to get the texture desired. You can’t really mess this one up!
8. Moon Sand
The texture of moon sand is so soft and soothing to work your fingers through. Different scented baby oils can add a calming element as well. And guess what? It never dries out! Put the flour in a bowl and then add the oil, adding more as needed. I just keep it in a ziplock bag and it holds up very well!
Now that the kids have made their concoctions, have them play together!
- Add animals or cars in the mixtures for imaginative play.
- Make shapes from sand pails and cookie cutters.
- Pretend the oobleck is snow and create an arctic scene.
- Press toy animal footprints in the salt dough to make a fossils.
- Write letters or draw pictures in the sand foam or colored shaving cream.
- See who’s slime can stretch the longest.
- Squeeze it in your hand and be mindful as to how it feels.
* As an Amazon Associate I earn from qualifying purchases
_______________________________________________________
RELATED ARTICLES:
Best Picture Books for Social Emotional Learning
How to Use Movement to Improve Engagement in Social Skills GroupsCategories: : kids, play group, play skills, sensory play, social skills group

I'm a Board Certified Behavior Analyst and former Special Education Teacher dedicated to teaching kids the 21st Century Social Skills they need to live happier, healthier lives
Diana Cortese
Founder, Teach Social Skills